

FREQUENTLY ASKED QUESTIONS
Are the shipping costs included?
For UK orders over £10, 2nd class delivery is completely free, orders £10 and under will incur a £1.50 delivery charge. There is an option to upgrade to 1st class or express courier for an additional cost. Postage times are from the date of dispatch, not the date the order is received. All our items are cut to order and so may not be dispatched the same day.
Do you ship internationally?
Yes, we ship all of our items internationally. All of the shipping costs for international orders are calculated at the checkout once the address has been entered. PLEASE NOTE: Import duties and admin fess may be charged on international orders upon arrival.
How do I track my order?
All tracking details can be found under ‘Orders’ in the ‘My Account’ section, this information will also be emailed to you when your order is dispatched. If you haven’t received the email and/or are struggling to find any tracking information, email [email protected] and we will send you your tracking number.
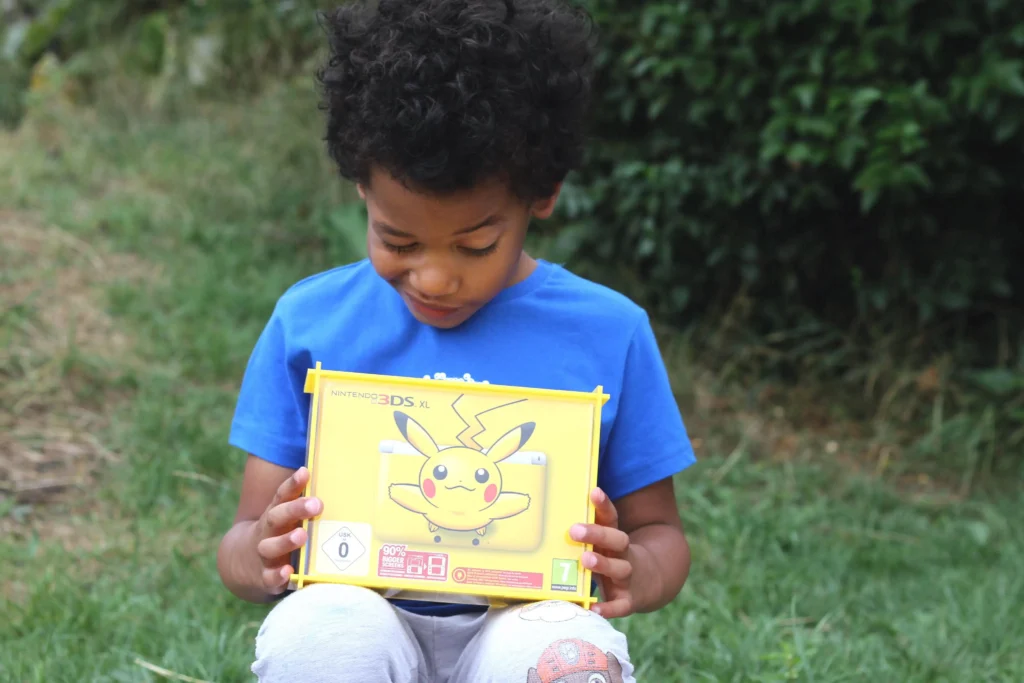
Does the colour of the sides change as well as the base colour?
The only colour that changes is the base, the sides on every stand ordered will always be clear.
Do the items come with protective film on them?
Yes, all our items are sent out with protective film on both sides, except Mirror colours which only have film on the front. Certain items will only have film on one side, such as printed stands, this is because they are printed which requires the protective film to be removed from that side.
Are the Display Cases ‘UV Protected’?
No, our cases are NOT UV protected.
My order has arrived broken, what should I do?
Please send us a photo of the damaged parts to [email protected] and we can discuss the options regarding a replacement part being sent to you.
How do I assemble a Controller Holder?
We have a video on our YouTube page showing how to assemble a controller holder: https://youtu.be/ZLV2dQ1YSzw
Controller holders consist of your chosen base, along with two sides and one brace piece. Make sure everything is intact before you begin assembling. The two sides and the brace piece will have the protective film on both sides. The film may be blue, white or clear. Remove all of the film before continuing. Once all of the components are pealed, hold one of the sides and slot the brace piece into the slot and push it down. Do exactly the same with the second side so that you end up with the brace piece locked in between the two sides. Align the feet of the sides up with the holes on the base, starting by slotting the back of the side pieces in, and working your way forward in a rolling motion, until the sides are fully located in the base. Once you have located the sides in the slots of the base, your controller stand should be complete.
How do I assemble a Headset Gaming Stand?
We have a video on our YouTube page showing how to assemble a headset stand: https://youtu.be/0a3zJUL2N40
First peel all the protective film off all the pieces. Then take one of the headset sides and slot the 4 support braces into the holes. Then take the other headset side and line the holes up with the other end of the braces. Slot the side onto the 4 braces so you have all the clear pieces assembled. Then slot the clear pieces into the base, back notches first and roll down into the front notches. The headset stand is ready for use. If you have a dual headset and controller stand repeat the same actions with the controller pieces. Remove all the protective film. Slot the brace piece into one of the sides, then slot the other side onto the brace. Slot the whole clear piece into the base, back notches first then rolling down into the front notches. The stand is now ready to use.
Do the Socket Surrounds/Light Switch Surrounds fit all single or double sockets or switches?
No, the socket and light switch surrounds only fit standard UK sockets and switches. They do not work on pattress boxes, oven switches, or any non-standard sized UK sockets or switches. The dimensions are included on the adverts so you can check if they will fit your sockets.
How do I fit a Socket or Light Switch Surround?
We have a video on our YouTube page showing how to fit a light switch surround: https://youtu.be/Pl3jSWIHjQk
Designed to be fitted without having to disconnect sockets or switches by trapping the surround between the fascia plate and the wall there is no need for adhesive backing or tapes. Meaning they can be easily removed when decorating or changed to match new colour schemes. First peel the protective film off the surround, taking care not to scratch the acrylic. Then unscrew the fascia plate of the switch/socket, slide the surround diagonally over the plate and then screw the plate back into place. This then ensures the surround is held in place between the plate and the wall. Longer screws may be needed in some instances. Take care not to touch the wiring and ensure the switch/socket is turned off during fitting. If you are unsure, please consult a qualified electrician.
How do I assemble a Display Case?
We have a video on our YouTube page showing how to assemble a display case: https://youtu.be/OhuX9KT-F5A
To assemble the display case, first remove all the protective film from both sides of the pieces. Then lay out the pieces on a clean and smooth surface, acrylic is easily scratched so take care. The base piece is the short piece with 4 holes and two slots, the sides are the two long thin pieces with 4 holes and 2 slots, and the top is the short piece with one hole and two slots. The front and back pieces have different notches to match the holes in the sides, top and base. These need to be aligned correctly. Take the base piece and slot the two side pieces in, then slot the front and back panels in place. Place the console inside, and then slot the top piece into place, it should align with the notch in the panel.
How do I assemble a Tiered Display Stand?
We have a video on our YouTube page showing how to assemble a tiered display stand: https://youtu.be/v1amjMf6GdA
Tiered Stands consist of your chosen shelf colour, along with two sides, a rear support and brace pieces. Make sure everything is intact before you begin assembling. All parts will have protective film on both sides, except a Mirror Header. The film may be blue, white or clear. Remove all the film before continuing. Then, lay down one of the side pieces and place all the brace pieces into the slots. The number of these will depend on the number of tiers that your stand has.
Once all the brace pieces are in the slots, place the other side piece over the brace pieces, carefully placing the brace pieces into the slots one at a time until all the brace pieces are slotted in. Carefully pick up the stand and slowly rotate it so that the back corner is angled upwards. Now you can place the rear support into the slots on the back of the stand.
Finally, carefully pick up the stand again and rotate it back around forward, slotting your coloured stands into the remaining slots. If you have a stand with a header slot this into the two remaining slots on the top of the stand.
Not answered your question?
If you are having any issues or believe that you have been sent the wrong components do not hesitate to email us at [email protected].